
PhotobucketPhotobucketPhotobucket Photobucket Photobucket  photo facebook111_zps824f8321.png  photo freebies111_zps3949d628.png
Showing posts with label photos. Show all posts

Sunday, October 27, 2013

On Mission in: Haiti

     Hey everybody! Wow, let me blow the dust off my blog here.. Sorry I haven't posted in so long, but now I'm back! ☺ I have plenty of things to share in coming posts, but I figured I would start off sharing about my recent trip to Haiti! 
     September 7-14, I was in Haiti on a mission trip with a team of ten other people. It was an amazing experience, and yesterday I learned I may be able to go back next summer! There are so many things I could share about the awesomeness of God, He was definitely with us every step of the way- from getting bags checked to traveling by tap-tap through Jacmel. God is so good! 
     I will share some photos in this post, all of scenery and I will update again later when I have more time! 
     The last evening we were in Haiti, our hosts, Tommy and Joy Schwindling of the Alabama House in Jacmel, Haiti, took our team out to dinner at Caplamandu. All of the following photos were from the restaurants balcony.
The view from Caplamandu.
Sunset
Beach
Flowers
Sunset
  And here's one of me and one of the sweet children I met while there.

   Though Haiti has many devastating parts, it was indeed a beautiful country. God is moving there, His grace and His mercy are enough.

Monday, December 31, 2012

Zombie Survival Kit 2.0

Ok, so in the last Zombie Survival Kit post, I mentioned that my Honey Bee wanted a bigger, better kit for Christmas. Well, here it is!
I was able to get some really neat stuff during October since, you know, Halloween was then. Take the edible body parts- that is so gross to me, but my guy laughed really hard when he saw it. 
Scroll through this post to see just how YOU can make the Zombie Survival Kit 2.0!

What You Will Need:
- A medium to large sized cardboard box
- Spray paint
- Caution tape (optional)
- Brown packaging paper
- Small round containers
- Zombie decor (like the fake brains below)
- Large candy bars
- Red crosses
- Energy labels
- Zombie warnings
- Fake guns, knives, etc.
- Matches or a lighter
- Emergency heat
- Peanut or regular M&Ms
- Flashlights
- Binoculars
- Large blanket
- Filter masks
- Candy sticks as "matches"
 
I labeled this plastic brain as "Zombie Bait."

Edible body parts! Ick...

A put a back scratcher in the kit with the tag saying: If you find yourself alone during this time, you'll need a good back scratcher for those hard to reach spots.

I printed out some cool warnings and guides to take down on the inside flaps of the box.


The candy sticks will work as matches and you can put them inside of a small box and cover it in labels!


What would a survival kit be without weapons?? I included a bow and arrow set, water gun, and dart gun.

Here are toy binoculars, walkie-talkie, whistle, and compass, along with the filter masks and a rubber mallet.
The filter masks: Protect yourself from airborne illness. Being sick makes you slow. Being slow makes you zombie food.

The small containers will have the red cross labels hot glued to the tops and filled with the M&Ms.

This is the lighter and emergency heat. Emergency heat is awesome! But please don't play with fire...
The lighter and emergency heat wear taped with sticky caution tape with the tag: For long, cold nights. Or for cooking. Squirrel anyone?

I wrapped the weapons all together and labeled them.


The large candy bars can be wrapped in plain printing paper with the Emergency label!

Flashlights and binoculars.

These I found during Halloween also, just Zombie warning signs.

Most of the kit out of the box.

All wrapped up and ready! Make sure you "bloody up" the packaging for a spooky effect!
 Remember, this is just a guide! Make the kit how YOU want it! Personalize it how your significant other would like it best!

Tuesday, October 23, 2012

Here on this blog...


makes me smileHey y'all! I've added another link in the top tabs to my new Tumblr page, Anything Ridiculous. Check it out!
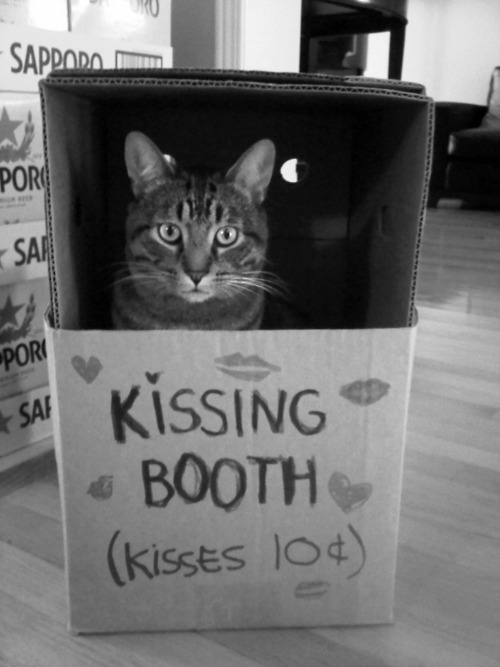
You'll find adorable pictures like these, and maybe even some of my own work ☺ I look forward to any and all feedback! So drop me a line in the comments!

 I've just got it started so there's not too much going on, but as time goes on, the Tumblr page will grow along with this blog. Thanks for following!
kisses :)


And remember to follow me on Pinterest and Facebook!


Friday, September 14, 2012

In the Garden

 Our yard is always full of flowers and lots of other flora, and plenty of fauna too. My mom loves gardening. Maybe digging around in the dirt and realizing that you can coax something to grow from your handy work makes it worth all the time it takes to do it. Whatever her reasons for loving it so much, I appreciate all the beauty she adds to our home.

My mom loves flowers all over the yard.

Fresh pears all autumn long!


My Mocha

My shy cat, Franny


Such a pretty tree. Love crate myrtles!


Sunday, July 29, 2012

My First Newborn Session!

An old friend got in touch with me not too long ago and asked if I would be interested in doing her newborn's photos. Of course, I hopped on that like hungry wolves on a juicy steak! I've never had the chance to take newborn pictures, so this was very exciting for me. I've heard you have to have a lot of patience to do baby pictures and I finally found out firsthand. He was a little on the fussy side through most of it, but he was completely adorable and I enjoyed every minute of it ☺

 100% Boy!

 Fresh from Heaven

 Isn't he the cutest thing?! I so enjoyed taking these pictures and it was an excellent time to catch up with my friend. He is a beautiful little boy!
Remember to check out and like my page on Facebook and follow my boards on Pinterest!